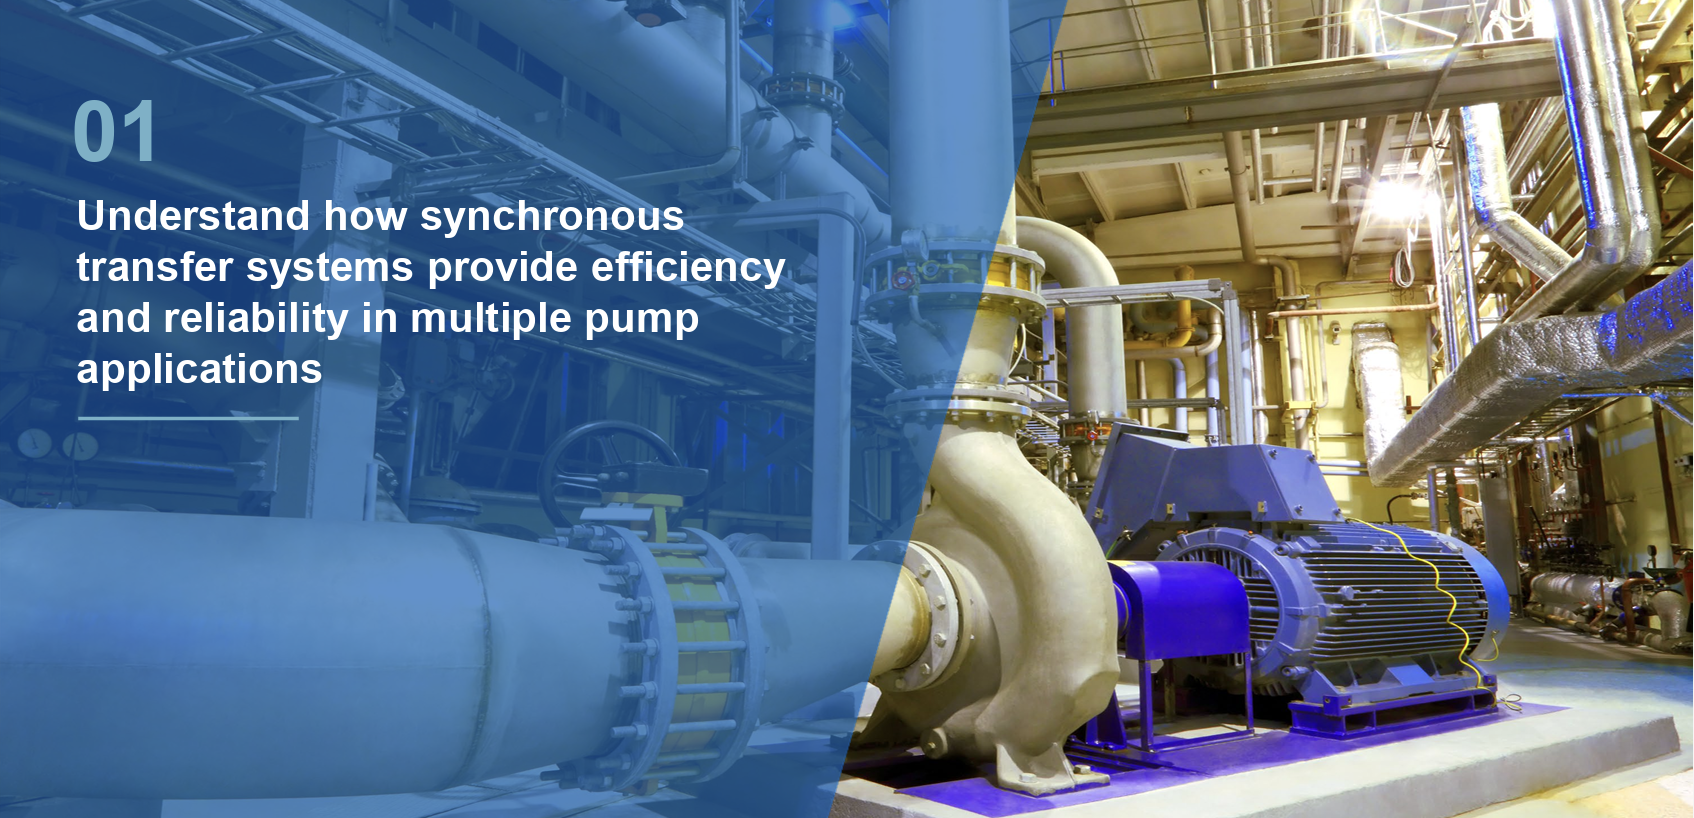
Advertisement
FREE subscription
A Field Guide for Engineers   


Recent Posts

Recent Comments

Most Commented On

Archives

Blog

Link This | Email this | Blog This | Comments (0)


Damper tests provide valuable insights, Part 7B; Test Proceedure and a First Look at the Results
June 29, 2007

Continuing from the previous post ....

To realistically simulate different load driven flow conditions, our procedure planned to incrementally raise the discharge temperature set point.  This would reduce the cooling effect available from the supply air and the terminal units would have to open and provide more flow in order to maintain set point, all other things being equal.  We discovered that it took a while for the system to react to this change and elected to modify our procedure to speed things along.  Specifically, we took advantage of the empty meeting spaces and adjusted their set points down into the low 60's (F) to cause the terminal units to drive to full cooling.  This simulated the effect we desired and had a much faster response time.

Its not unusual to discover that you need to make a change in your test plan once you are out in the field, but when it happens, its good to take a few minutes to think it through and mark up you procedure to make sure that there won't be unanticipated problems down the road.

The following pictures are the portion of our test form were we documented our data and calculated additional information based on our measurements and will give you a feel for the details of our procedure.  Note that we cycled the kitchen exhaust fan on and off under two limiting operating conditions (minimum load and maximum load) to assess if it had an impact on minimum outdoor air flow.  We also stepped the dampers open and then back closed under the same two conditions to assess the impact of play in the linkage system and other hysteresis generating factors.

Return To Normal

Taking a few minutes to make sure any adjustments you made to the system for the purposes of testing have been removed and that the system is functioning normally is always a good idea, no matter how tempted you are to head home at the end of a long day.  In our case, we verified that all of our manual over-rides were released and then monitored the operation of the system for about 45 minutes to make sure everything appeared to be normal. While we were monitoring the system, we started to analyze our data and look at our results.

TaDa - The Results (Finally!)

The graph below depicts the over-all results of our test.  They are surprising in that the dampers appear to be fairly linear despite the fact that the rules of thumb would say that they are oversized.  They also document that the missing blade seals result in significant leakage in both the minimum outdoor air mode as well as the 100% outdoor air mode.

In a couple of days, I'll start another post and take a closer look at our results and their implications in terms of performance and energy consumption.


Posted by David Sellers on June 29, 2007 | Comments (0)


POST A COMMENT
Display Name or Registered Users Login Here.
Please restrict submissions to less than 7,000 characters (including any HTML formatting).

Before submitting this form, please type the characters displayed above:


Advertisement

Advertisements


©2008 Reed Business Information, a division of Reed Elsevier Inc. All rights reserved.
Use of this Web site is subject to its Terms of Use | Privacy Policy
Please visit these other Reed Business sites